
How to Photograph Your Gaming Desk and Show the Details
Plan a clear desk overview, useful close-ups and an honest charging demonstration. Show scale, lighting and cable placement without misleading edits.
Written by
Desk Chargers Team
Product notes and buying guides from Desk Chargers.
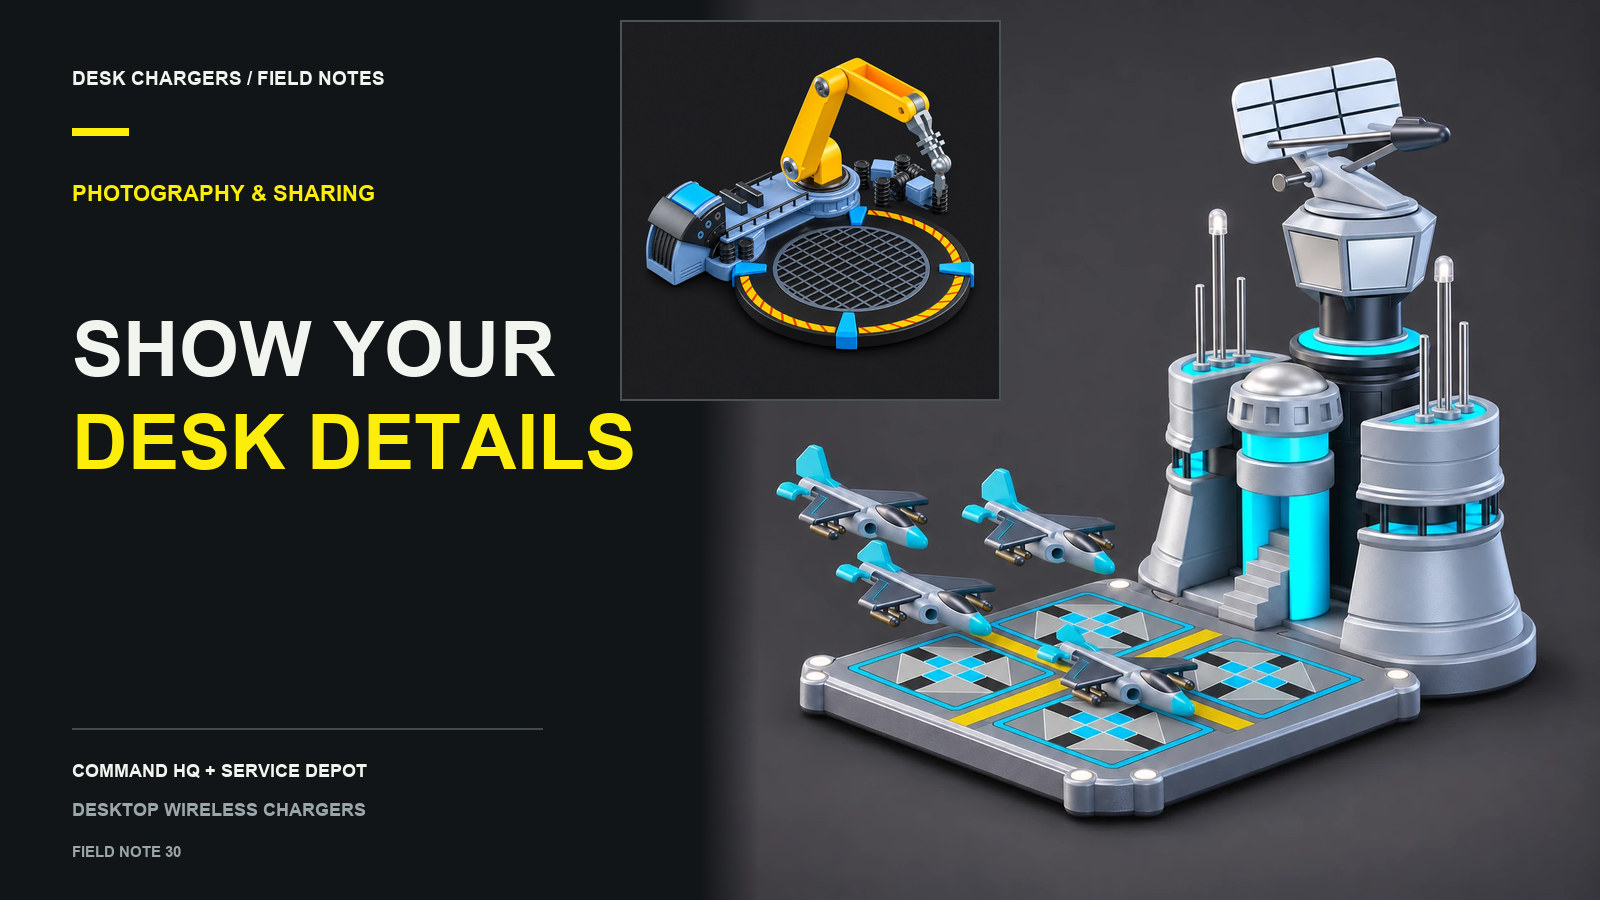
A useful gaming desk photo shows both the atmosphere and how the setup works. Start with one view of the whole desk, then add a few close-ups that explain the details: where the phone rests, how a model fits beside the keyboard and where its power cable goes.
You do not need to make the desk look like a showroom. A clear, believable view helps another person understand the setup better than a heavily edited image that hides its scale or connections.
Choose what the overview needs to explain
Before taking pictures, decide what you want someone to notice. It might be a small desk that still has room for a display, a shared work-and-gaming layout or a game-inspired color scheme.
Frame enough of the keyboard, monitor and desk edge to give the viewer a sense of scale. Avoid pushing the camera extremely close to the charger in the overview: a close object can dominate the picture and make the remaining desk space difficult to judge.
Move distracting personal items if you want to, but keep the practical layout intact. If a cable is part of the setup, route it neatly rather than editing it away and implying that the charger has no power connection. Our gaming desk cable guide covers that part of the arrangement.
Use four shots with different jobs
A small set of purposeful images is easier to understand than ten nearly identical angles.
| Shot | What it should show |
|---|---|
| Desk overview | The charger in relation to the monitor, keyboard and usable desk space |
| Three-quarter view | Shape, height and surrounding clearance |
| Detail | A control, charging platform or manually positioned feature |
| Use view | The actual phone placement and visible charging indication, if you are demonstrating charging |
For the detail frame, check that the feature is in focus and that surrounding light does not hide its shape. The photograph should make the next action understandable, such as where a phone is placed, without pretending to replace the product instructions.
Show lighting without losing the object
Try a frame with room lighting on before taking a darker image of illuminated details. The brighter frame helps people see the physical object; a second frame can show how its lighting looks in that room.
Keep the camera steady and review the result at normal viewing size. If highlights turn into a bright patch with no detail, reduce the exposure using your camera's controls. Avoid pushing color adjustments so far that the model's finish becomes a different color.
When sharing both daytime and darker images, describe the conditions. That gives the viewer context instead of suggesting every effect will look equally bright in every space.
Demonstrate the function honestly
The Air Force Command HQ has documented lighting, sound cues and radar movement. A still photograph can show its appearance, but it cannot establish sound or rotation speed. Use an unaltered short video if you want to show a moving effect you have actually observed.
The Service Depot arm is positioned by hand. If you demonstrate changing its pose, show that action clearly; do not edit separate poses together in a way that implies motorized movement.
If charging is the subject, include the phone's real charging indication. Do not add a battery icon in editing, imply a charging-speed result from a single frame, or use decorative lights as proof of delivered power. A demonstration of your phone also does not establish compatibility with every other model.
Write a caption that answers the obvious questions
Include the exact model name, the phone and case shown, and whether the image is a general desk view or a demonstration. If you are sharing an illustration, composite or edited concept rather than a photograph of the actual setup, say so.
Check screens and reflections for private messages, addresses and other details you did not intend to share. Then choose the clearest overview as the first image and add only the close-ups that contribute something new.
Link to Customer Help when someone needs setup or compatibility information. A good photo can introduce a product; accurate model details help the next person decide whether it belongs on their own desk.
Questions or corrections about this content can be sent to support@deskchargers.com.
All postsRelated posts
Desktop wireless charger comparisons, setup questions, and buying guides.